Getting Started Admin
From Offerit
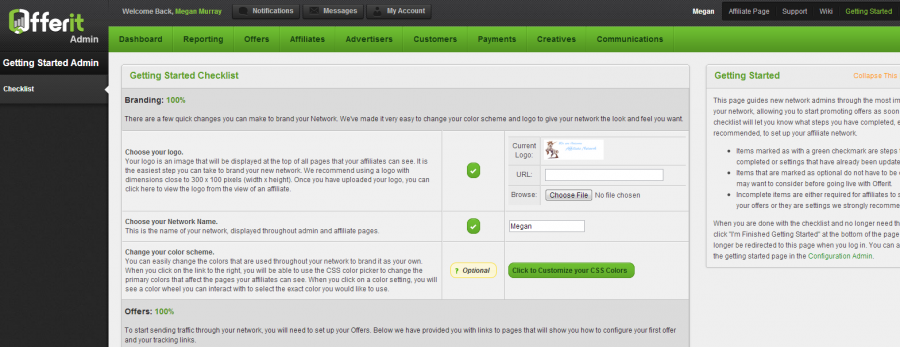
This admin will guide you through the most important areas of Offerit, allowing you to set up and start promoting offers as quickly and easily as possible. You can find this admin from the options in the top right of every Offerit Admin page:
You will be brought to the admin, initially at the 'checklist' tab.
Getting Started Checklist
The Checklist will let you know what steps you have completed or have yet to complete in setting up your Affiliate Network. Progress is monitored with percents throughout the checklist.
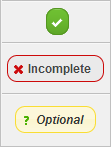
Steps are labeled as follows:
- Complete - Steps or settings that have already been finished or updated.
- Incomplete - Items that are required for affiliates to start promoting your offers or settings we strongly recommend you change.
- Optional - Do not have to be changed or edited, but you may want to consider doing so before going live with Offerit.
Branding
- Header Logo Added - This is the logo that will appear in the header of your affiliate view. This replaces the "Your logo here" on the affiliate side of Offerit. When you click the edit (
 } icon, you will be brought to the Edit CSS Colors page. For more information on changing your logo, visit the Edit CSS Colors wiki.
 - Offerit Nice Name - A short name for your Offerit installation, used in internal emails and displayed on the affiliate side.
- Offerit Project Name - A short name of your Offerit installation, used in internal templates.
- CSS Colors Modified - The CSS color settings that are used on the affiliate side. For more information on changing colors, visit the Edit CSS Colors wiki.

